本文记录NexT主题中添加gitalk评论系统的步骤。
gitalk:一个基于 Github Issue 和 Preact 开发的评论插件
详情Demo可见:https://gitalk.github.io/
1. Register Application
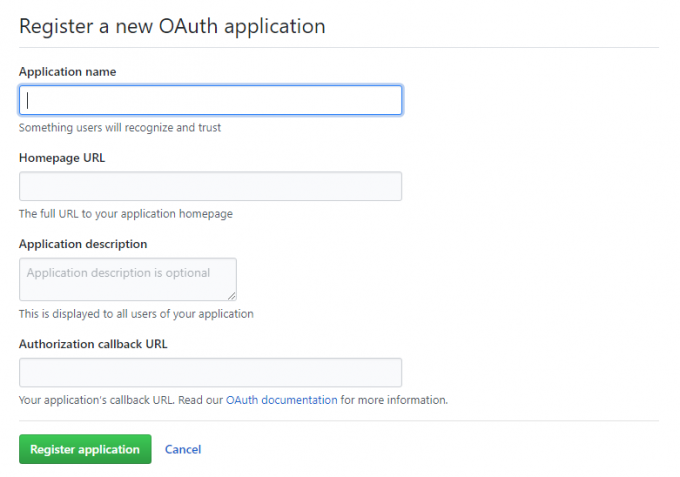
在GitHub上注册新应用,链接:https://github.com/settings/applications/new
参数说明:
Application name: # 应用名称,随意Introspelliam.github.io
Homepage URL: # 网站URL,如https://Introspelliam.github.io
Application description # 描述,随意
Authorization callback URL:# 网站URL,https://Introspelliam.github.io
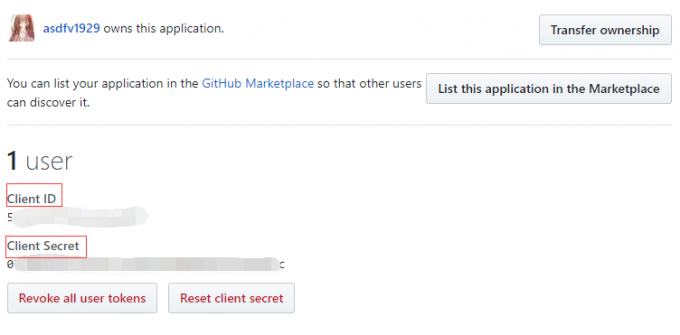
点击注册后,页面跳转如下,其中Client ID和Client Secret在后面的配置中需要用到,到时复制粘贴即可:
2. gitalk.swig
新建/layout/_third-party/comments/gitalk.swig文件,并添加内容:
|
|
3. comments.swig
修改/layout/_partials/comments.swig,添加内容如下,与前面的elseif同一级别上:
|
|
4. index.swig
修改layout/_third-party/comments/index.swig,在最后一行添加内容:
|
|
5. gitalk.styl
新建/source/css/_common/components/third-party/gitalk.styl文件,添加内容:
|
|
6. third-party.styl
修改/source/css/_common/components/third-party/third-party.styl,在最后一行上添加内容,引入样式:
|
|
7. _config.yml
在主题配置文件next/_config.yml中添加如下内容:
|
|
以上就是NexT中添加gitalk评论的配置,博客上传到GitHub上后,打开页面进入某一博客内容下,就可看到评论处。
8. Error: Validation Failed.
这是因为中文导致的问题。
HTTP 编码为 422,大家应该都已经知道了这个问题的原因:文章的 URL 过长,生成 issue 时超过了 label 的长度限制
网上随便找了找,用的是这个JavaScript-MD5
对gitalk.swig进行了修改
|
|
其中加了一句话:导入本地的md5.min.js
修改了id: 将location.pathname进行了md5